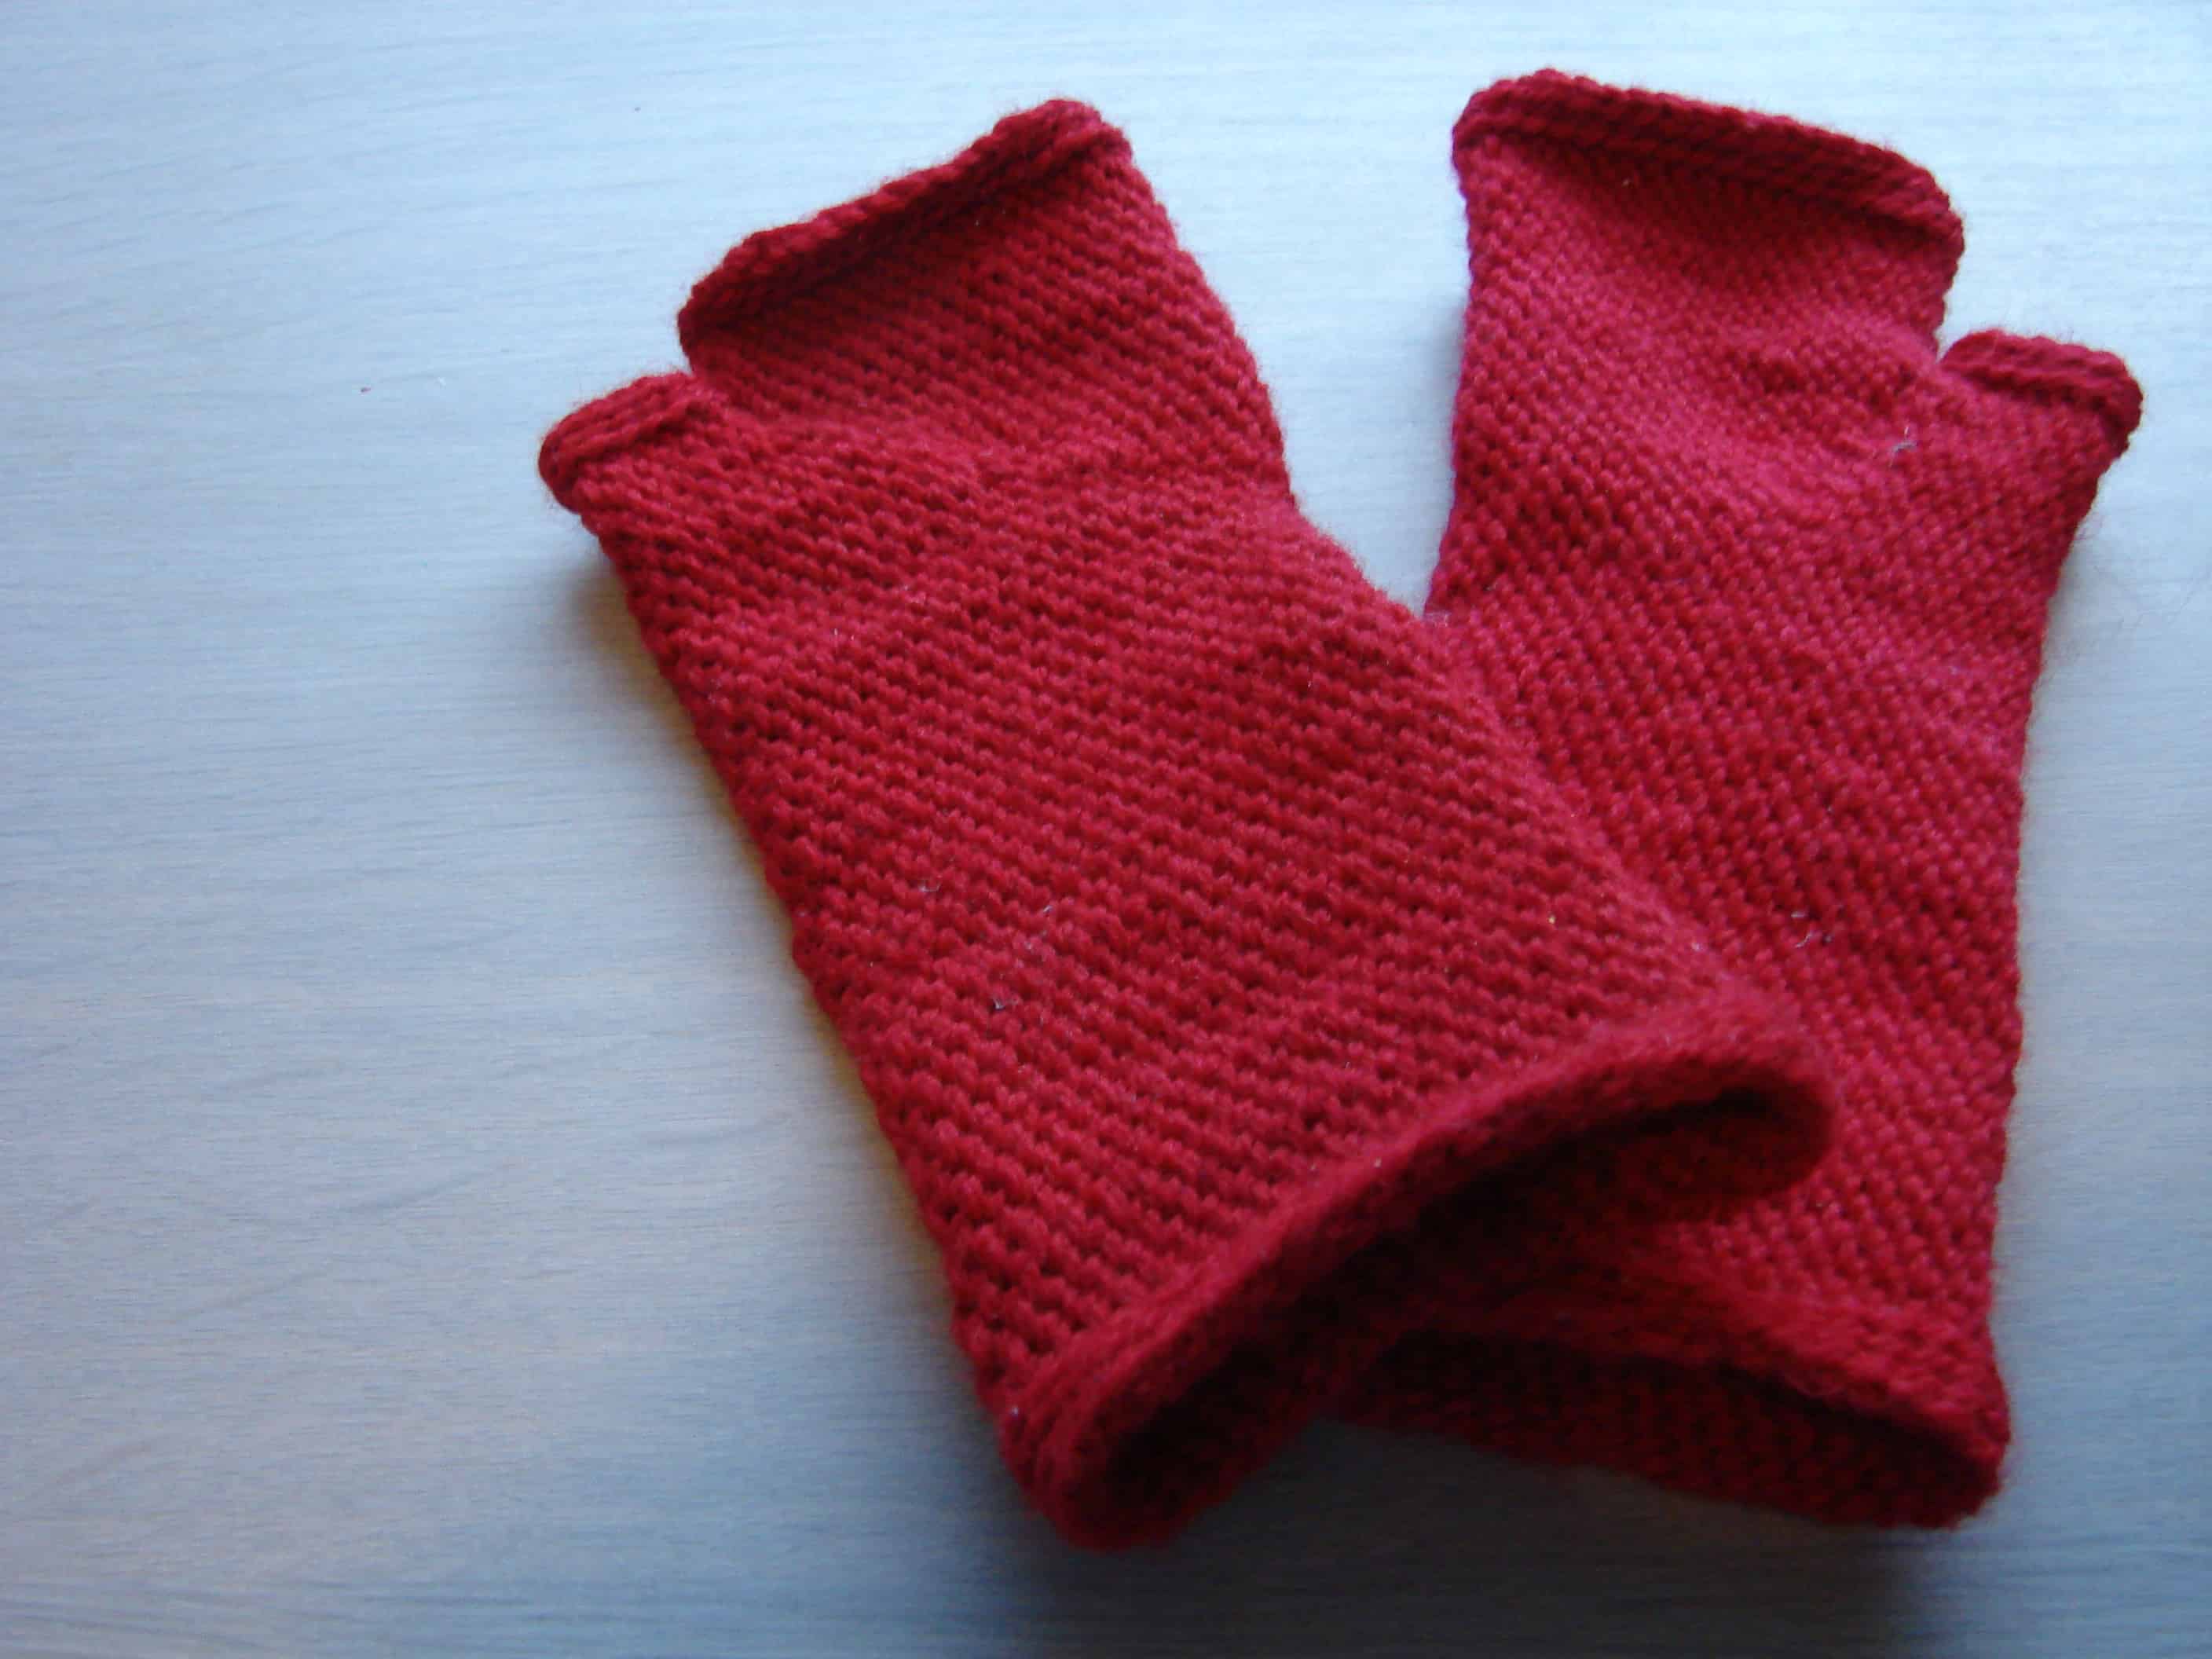
This post is to show you how to get started with what they call Pjoning in Norway. In English, it’s called Slip Stitch Crochet, and sometimes also Bosnian crochet. If I had full use of my hands, I would have made a video myself, but I found this one, which is really good. Unfortunately, there’s no translation, so I’ll try to give you the essence of the video in writing. If you’re familiar with crochet, this should come pretty easily to you. You can use any yarn you want really, but remember to use a hook/needle that’s slightly larger than recommended for the yarn you choose.
You start by making a loop and making chain stitches. Make sure it doesn’t get too tight. Continue until you have the size you need. When it’s long enough, you close the ring with a slip stitch. Then you make the border, which is so it won’t curl. Use the top part of the loop. The hard part about this is keeping it loose enough. When you’re done with the edge, here 4 rows, you switch to another stitch giving it a thicker structure. You use the bottom part of the loop this time.
These items are very good to felt. If you felt the inside slightly and brush it, they’ll be very comfortable. Kids who refuse to wear knit mittens, often love these. To make room for the thumb, you increase one on every other row, until it’s wide enough. To increase, you do a the stitch through the back and then one through the front loop. Make the increases into an angled line.
When you’ve reached the top part of the thumb joint, you have to create the hole for the thumb. You add 4 new chain stitches, skip ten and continue on the eleventh. For a wrist warmer, you continue as far as you want it, and end with a new border. For a mitten, you continue until you reach the end of the little finger. Then you start decreasing. You can either decrease only on the sides to make a point or evenly around the whole thing. In that case, you decrease every 5-6 stitches.
To decrease, you go through two loops to make the slip stitch. To vary the pattern, you use the two different stitches in various combinations. To go back and forth, you can follow this instruction. The woman who made this video calls herself Pjonica and published a book on the subject in 2010. At the end she shows some of the patterns included in her book. This is the book I learned how to do it from.


It sounds so easy when you describe this! I keep having these impulses to make things with my hands, and then I remember that said hands are useless for anything but typing on a computer and then I stop myself before I create another of the desasters I used to do when I grew up 😀
Give it a try 🙂 It’s better to create little disasters (which we all do before we get the hang of it) than not to create at all.