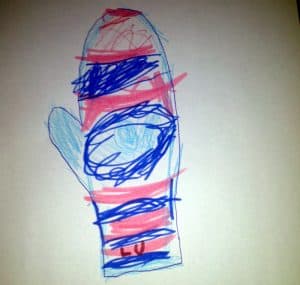
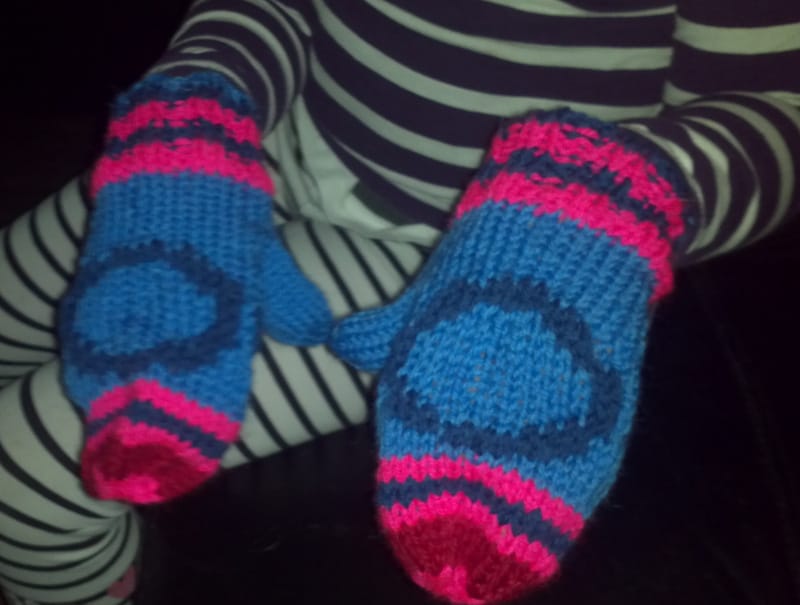
I needed to knit some mittens for my daughter Lilith, and I wanted them to be creative mittens, not the regular, boring mittens ‘everyone’ has. I had looked for patterns for a while before I decided to let her design them. I drew an outline of a mitten and had her colour them any way she wanted. This is what she came up with.

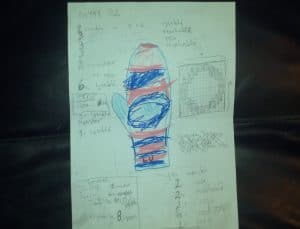
Knitting by someone else’s pattern is a bore to me. I don’t use other people’s patterns when I knit, I much prefer to make them up as I go along. This time I had to make a pattern first though since she wanted that dark blue circle. Knitting a circle isn’t easily done on the fly, and I wanted both mittens to be the same So I scribbled down the pattern on the page where she drew them.
I roughly calculated how many rounds I’d need for the right size, by estimating how many mm one round is. I used a glove that fits her to get the right length. I then figured out where I was going to place the circles (I did them on both sides), and wrote down how many rounds of what colour I needed before and after, plus where I needed to start taking them in.
I had to adjust it a bit as I went when making the first one, so the numbers got erased and re-written a couple of times. They turned out to fit her perfectly, and she’s very happy with them. So am I, because they were a lot more fun to make than the regular kind.
I’m telling you this to show you one way you can fit creativity into what otherwise might feel like a chore. Having to make up your own pattern really challenges the creative problem solver in you. Plus if you let your kids make it up, you’re stimulating their creativity.
Here’s the pattern in computer text, should you want to try your hand at them:
Pins: 5 pins size 4 mm
Yarn: 4 different colours, fitting the pins
Hand:
Lay up 32 with the (in this case) light-blue yarn on two pins, pull out one of them. Distribute on 4 pins (8 on each).
| 2 rounds of light blue |
| 3 rounds of dark blue |
| 3 rounds of pink |
| 3 rounds of dark blue |
| 3 rounds of pink |
| 6 rounds of light blue, on the last 6 of this round, change to a contrasting yarn. When you’ve knit the last 6, put them back on the previous pin, and go over with the light blue. This will be the hole for the thumb. |
| 3 rounds of light blue |
| Start the circle pattern as described in the pattern images below. |
| After the pattern, knit 2 rounds of pink |
| 2 rounds of dark blue |
| 2 rounds of pink |
| 4 rounds of red. On each pin on the first round, knit #6 and #7 together. Knit normal on the second. #5 and #6 together on the third, normal on the fourth. |
| 2 rounds of pink. On each pin on the first round, knit #4 and #5 together. Knit normal on the second. |
Cut the yarn about 3 inches out from the work, and thread it through all the loops before taking them off the pin. Reverse the mitten and pull the yarn through the hole. Pull it tight, and fasten all loose ends.
Thumb:
Pick up all the loops where the contrasting thread goes through. Pick up two more on each side, making it a total of 16.
| Knit 12 rounds of light blue |
| Knit 3 stitches, knit two together. Repeat until there are only 8 left. |
Finish the same way you finished the hand.
Make sure you change the placement of the thumb for the other mitten, otherwise you end up with two for the same hand.
| Pattern image right hand |
| Pattern image left hand |


Thanks for showing us how to do this. It looks so easy but now that I see it on paper…or the screen, it seem a lot more difficult.
I heard knitting is therapeutic for some folks and if I this can help me relax and unwind, I would love to try it. I’ll need lessons first :).
I think they came out great! You are one creative lady Linda! Have a great day. 🙂
Thanks Corina. They weren’t hard to make, once I had the pattern. I’m no master knitter, but I think these turned out good.
I love everything about this project!
Thanks Rachel 🙂
Those are awesome Linda! Lilith is definitely lucky to have such a creative mommy as you. 🙂
Thanks Bren 🙂 She seems to be well on her way towards being a multi-creative herself. I’m doing my best to support that.