
Hurricane Candles
Candle Making | Safety | Layered Candles | Carved Candles
Chunk Candles | Cauldron Candles | Balloon Candles | Beer Candles
Gift Box Candles | Photo Candles | Hurricane Candles | Whipped Wax
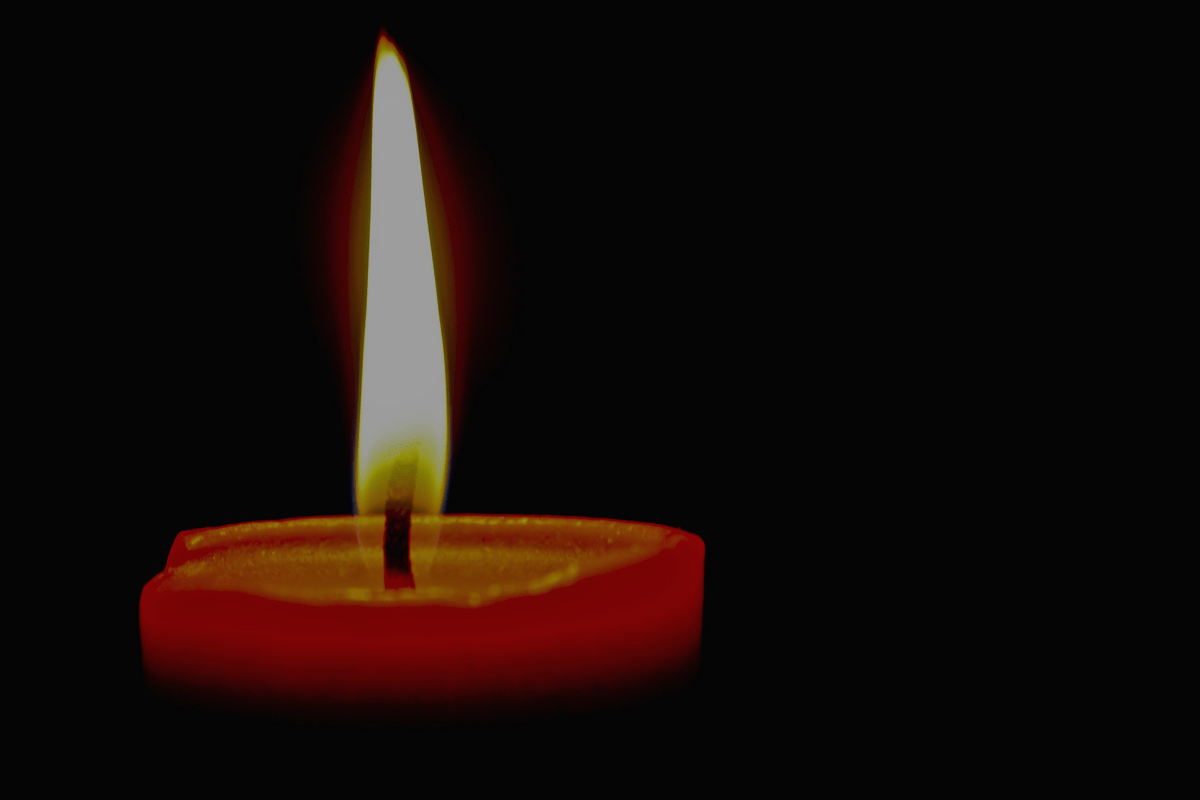
Hurricane candles are some of the most beautiful candles you can make if done well. If done poorly, they can be ugly and / or dangerous. A hurricane candle is a candle that is designed to burn down the center illuminating the outer shell. It is common to embed flowers, cinnamon sticks, sea shells, stones, etc. in the outer layer.
Materials
Before starting accumulate the following materials:
- Two molds of the same height, one smaller than the other. For example: a 3×6 and a 4×6 round pillar molds.
- Low temp wax – about 130 MP.
- High temp wax – minimum 140 MP.
- Wax hardener such as Micro 180, or clear crystals. It is not critical what is used as long as it doesn’t make the wax more opaque.
- Embedments of your choice.
- Wicking, and the usual candle making supplies.
The procedure
Step One
Make a candle in the smaller diameter mold using the low temp wax, and a bit of Vybar or stearic acid. If desired scent may be added. Color may also be added, but may inhibit illumination of the outer shell. A smaller wick than you would normally use for this size mold should be used. Allow to harden and unmold. This will be referred to as the core candle, and will be used to hold the embedments against the outside of the mold. For safety it is best to use a 7.62 cm (3″) or larger core with a wick suitable for a 3.81 – 5.08 cm (1 ½” – 2″) candle.
Step Two
Thread the wick of the core candle through the wick hole in the larger mold and seal. Place your embedments around the core candle in an arrangement that suits you. Try to keep the core candle centered. If using botanical materials, try to wedge these in place to keep them from floating when the wax is poured in.
Step Three
Prepare the higher temp wax by adding hardener of choice. Do not add Vybar or stearic acid as these will make the outer shell more opaque and inhibit illumination from within. The higher the melt point of the outer layer, the more durable the candle will be. Pour this into the mold at about 87.7 C (190 F). Allow to sit for 30 seconds while tapping sides to release trapped air bubbles. Place in cold water bath. Since this candle has a core there should be a minimal (if any) shrink void to refill.
Finishing
After unmolding the base needs to be leveled. Any blemishes may be polished with an old nylon stocking.
Testing
It is vital to test the burning properties of the candle and keep a close watch on it while doing so, especially if you used flammable embedments. In theory the undersized wick will keep the embedments out of the flame zone, however you may need to experiment with different size wicks to get the desired results. If you are considering making these for sale, it is vital that you do extensive testing for safety, as a poorly done hurricane can become a torch and is extremely hazardous. Hurricane candles are best burned for 2 or 3 hours at a time to prevent melting the outer shell.
Hurricane shell
Hurricane shells are hollow wax shells that are illuminated by burning a votive or tealight inside. Since the shell is not exposed to flame, these last a long time if a little care is taken not to overheat them when using. It is common to embed flowers, cinnamon sticks, sea shells, stones, etc… in the outer layer.
Materials
Before starting accumulate the following materials:
- A hurricane mold or other mold with a large diameter.
- A hurricane insert, or suitably sized can with both ends cut out.
- High temp wax – minimum 140 MP.
- Wax hardener such as Micro 180, or clear crystals. It is not critical what is used as long as it doesn’t make the wax more opaque.
- Embedments of your choice.
- A sharp, long blade knife.
The procedure
Step One
Seal the wick hole of the mold and place the insert inside. The insert is used to hold the embedments in place while the wax sets. Place the embedments between the insert and the mold sides. If using embedments that float, it is best to wedge them in.
Step Two
Start with a high temp wax, and add micro 180 or plastic additive such as clear crystals to make the wax harder. The higher the melt point of the shell, the more durable it will be. Do not add Vybar or stearic acid as these will make the outer shell more opaque and inhibit illumination from within. Fill the mold with the high temperature wax formula at 87.7 – 93.3 oC (190 – 200 F). Allow to sit for 30 seconds while tapping sides to release trapped air bubbles. Carefully place the filled mold in a cold water bath.
Step Three
After a minute or so, grasp the insert and lift it 1.25 cm (1/2″). Repeat every minute for about 8 minutes. The actual time it takes to do this step will vary depending on your pouring temperature and the water bath temperature. Make sure the insert is fully removed before the shell hardens to the point where it is trapped.
Step Four
Now that the insert is removed, allow the mold to cool until the wall thickness of the wax is 0.95 – 1.25 cm (3/8 – 1/2″) thick. Wall thickness is largely a matter of taste. Thicker walls inhibit illumination, but are much stronger. When the desired wall thickness is reached, use the knife to cut out the top. Immediately pour out the molten wax from the center. This may splash hot wax, so wear eye protection.
Finishing
Use the knife to trim the top edge flush with the sides. Allow to cool and remove from the mold. The final step is to level the top using the same technique you use to level the bottoms of standard candles.
Testing
It is vital to test the burning properties of the candle and keep a close watch on it while doing so, especially if you used flammable embedments. Hurricane shells are best illuminated by votive candles in glass votive cups. While this is generally a safe arrangement, you may need to go to a larger diameter mold if the flame is too close to the shell or the shell gets soft after 3 hours of burning.