
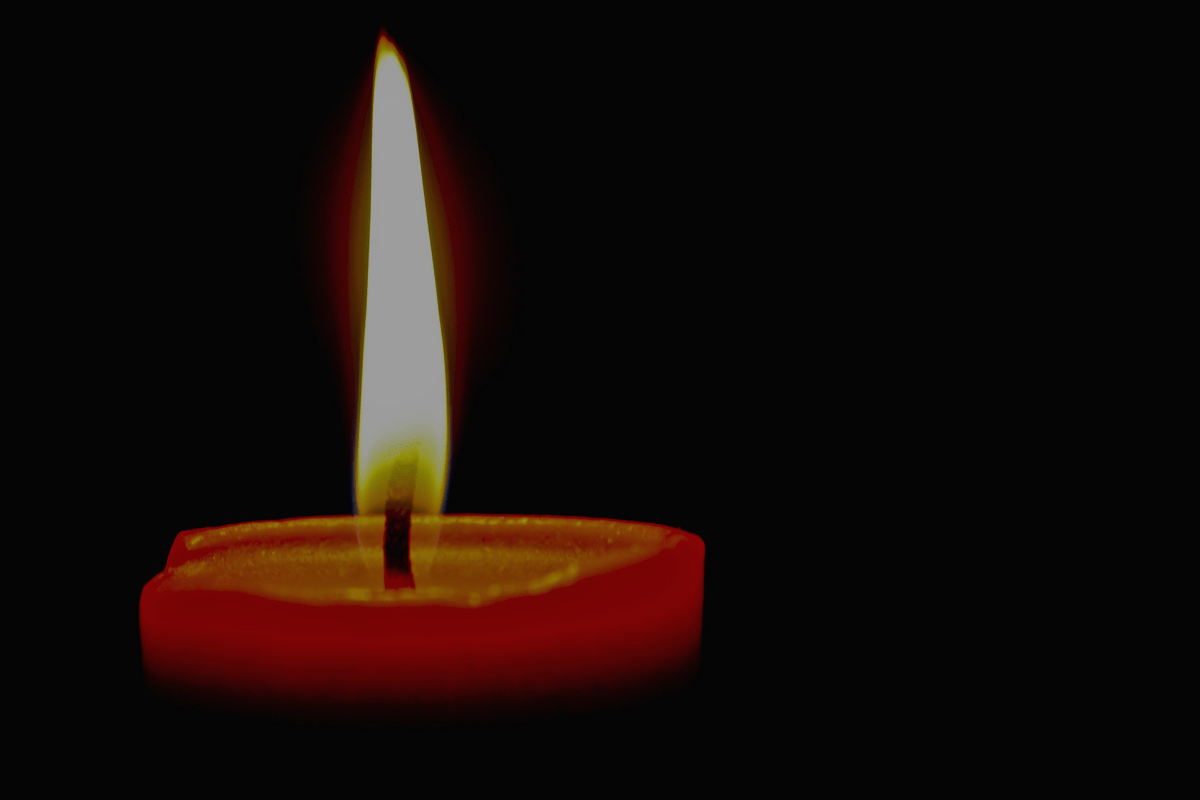
Carved Candles
Candle Making | Safety | Layered Candles | Carved Candles
Chunk Candles | Cauldron Candles | Balloon Candles | Beer Candles
Gift Box Candles | Photo Candles | Hurricane Candles | Whipped Wax
Materials
To make Carved Candles, you’ll need: Wax, pigment dye, dipping vats, wick, mold, sharp knives, hanging hook, or lazy susan, and water bucket.
The procedure
Step 1
Core candle – any shape can be used. Some shapes are easier to carve than others. The most popular core shape is a star pillar. The ridges on the star provide a reference point, allowing you to evenly space your cuts. I prefer to make core candles with straight 140 MP wax – no additives. 130 MP can also be used, as well as a mixture of 103 and 140 MP. This is really just a matter of personal taste. When making your core, allow at least 6 inches of wick at the top of the candle (bottom of mold). Use a slightly smaller wick than you would normally use for that size candle. Due to the amount of time needed to melt the dipping wax, it is usually best to prepare a quantity of core candles before starting.
Step 2
Prepare dipping vats. You will need one for each color to be used. If you don’t have dipping vats, use the tallest melting containers you have. Since these candles will displace more wax than tapers, it is important to know how high to fill them with wax. This can be tested using water. Dip the candle into the water. The water level should rise to no more than one inch from the top. Remove candle and mark the water level. This is the level you will need to fill to with melted wax. Dipping vats should always be placed in a pot or pan of water when on a heat source.
Step 3
Place wax into the dipping vats and place on heat source. As the wax melts adjust the level so that it is at the line marked in step 2. Adjust heat to maintain a 71 – 73 C (160 – 165 F) temperature. Pay strict attention to temperature as this is the most critical aspect of getting a good dip. Fill the water bucket with cold water.
Step 4
Color – It is important to use pigment dyes for this style of candle. Pigments resist bleeding together, and are much more vivid colors. To further prevent bleeding, many pros also add one or more dips in a white made with Titanium Dioxide between color dips. I personally like to use pigments at 2% for better coverage, but the amount used is a matter of personal taste.
Step 5
If you are using a hanging hook, tie the core candle wick to it now. A hook can be made from heavy wire such as a coat hanger. If you plan to use a lazy susan, a loop may be tied in the wick for ease of handling. As the candle is dipped it will get quite heavy. This will provide a sure grip and prevent cramped fingers. Before going any further, make sure that you will have enough uninterrupted time to complete the candle. It is a good idea to take the phone off the hook before starting as well. Once you start dipping, the candle must be taken to completion.
Step 6
Heat Bath – The first dip should be in your darkest color. Hold the candle in the wax for exactly 30 seconds. This will soften the core wax and allow better adhesion of the dipped layer. Dip quickly into the water bucket and wipe off any water drops.
Step 7
Repeat the wax dip / water dip. Vary the layer thickness of color bands by the number of dips before switching colors. 2 dips will give a narrow band of color, 5-6 a medium band, and 10-12 will give a wide band.
Carving
When you have built up the desired number of layers, it is time to start carving. For optimal carving, the candle should be at eye level. Most professional carvers hang the candle from a conveniently placed bar. If you just want to give carving a try, place the candle on a lazy susan or metal tray and carve while sitting in a chair. This is not the time to hesitate – I know many beginners approach this with trepidation, but just resign yourself to making mistakes and go for it. The worst that can happen is that you will have some ugly candles to burn for a while – we are not trying to cut rare gems here. If you make a mistake keep going, because it just requires practice. If you approach the actual carving knowing you will not be producing perfect candles from the beginning, mistakes are not upsetting.
Spiral Twist
This is a fun cut. Use a knife blade that has been bent into a circle. Apply the blade where you wish to start the cut. Cut downwards allowing the blade to cut to about one half its diameter. Slide the blade off, twist the slice of wax into a spiral, and press back into place. Repeat at even intervals around the candle. Work quickly as carving must be completed before the wax cools. Variations on this cut would be more or less twists, or twisting to the left or right.
Corner Twist
This is a very easy cut similar to the spiral twist. The main difference is that it is done with a straight blade knife. Because of this it is best used on corners (square candles) or peaks (stars and Pyramids). It is a great technique for enhancing plain pillars and tapers.
Materials
A straight blade knife, and a gouge will be needed in addition to wax, pigment dye, dipping vats, wick, mold, sharp knives, hanging hook, or lazy susan, and water bucket.
Step 1
After dipping the candle, take the straight blade knife and make a cut down one corner. The cut may begin at the top or partway down. The angle should be such that the full depth of cut is reached within the first 1-1.2 cm (3/8″ – 1/2″) of cutting. With all Cut ‘N Carve work a uniform depth of cut is desirable, and with practice you won’t have to give it a second thought.
Step 2
Support the cut piece while twisting. Make one or more twists. Some possible variations are: Single twist on top, center, or bottom. Double twist. Spiral twist. Twists may also be alternated with untwisted sections.
Step 3
Once the desired twist is acheived, line up the top and press into place. Depending on the amount of twisting, it may be necessary tostretch the twisted piece slightly to match the original cut line.
Step 4
Repeat steps 1 through 3 for each corner. For best appearance all cuts and twists should be visually aligned with the previous corner.
Top Cut
This cut is functional, as well as decorative. Since pigments may clog the wick, a well that reaches the core candle should be made – greatly reducing the amount of pigment in the melt pool. Although it may be done with a narrow straight blade, a carving gouge makes it much easier to get a nice cut.
Step 1
Before candle is fully cool, use the gouge to gently carve in towards wick. Repeat all the way around, overlapping cuts slightly. Take care not to cut into the wick.
Step 2
At this point you should have a loose piece of wax, roughly flower shaped around the wick. Remove this piece.
Step 3
Use the gouge to clean up the cuts. If a substantial amount of the core candle is not exposed, use the gouge to remove more wax, enlarging the well diameter if necessary.